I’m so excited to be kicking off this DIY holiday week with Alex of one of my daily reads, Dreams + Jeans. I can’t get enough of her crafty monogrammed gift (is there anything better than receiving something with your monogram on it?) – it’s such a great way to add that personalized touch to a practical leather pouch that just about anyone will love.
Here’s Alex to give you the step-by-step details (while I head off to make one for everyone on my list!) …

When Melissa asked me to come up with a DIY gift, I immediately thought of doing a monogrammed leather pouch. Leather pouches can be used for so many different things and by adding a monogram, it shows you really took the time to think of the recipient.

YOU’LL NEED:
– fine paint brushes
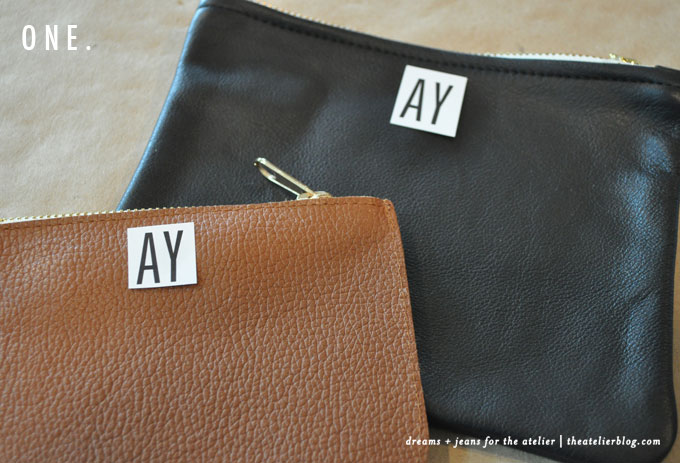
ONE. Determine the placement and size of the monogram on your pouches.

TWO. Tape monogram onto the adhesive film and cut along the letters. Remove the paper backing and place the adhesive film onto the pouch. (I ended up using the backing as my stencil because the adhesive wasn’t sticking.)
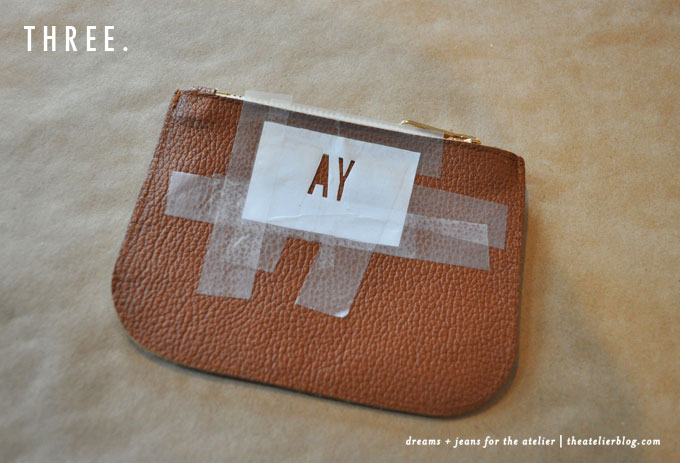
THREE. Position stencil onto pouch and tape into place.
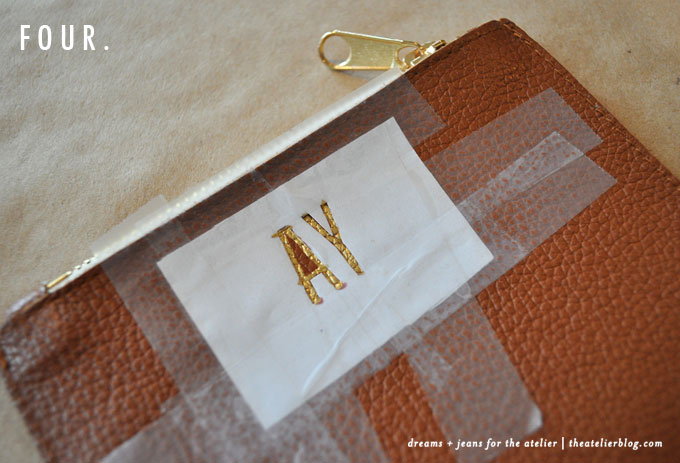
FOUR. Paint one coat of liquid gilding. Let dry one hour in between coats. Certain letters may be difficult with a stencil (like my A) so you may want to carefully freehand them.
After you’ve done enough coats, let dry for a few hours. It’s also recommended to seal the gilding to prevent chipping.
Thanks so much for having me Melissa!
